Getting started (Dashboard widget)
Welcome to the getting started guide for the dashboard widget. This guide will help you set up a CircleCI widget on a Monday dashboard.
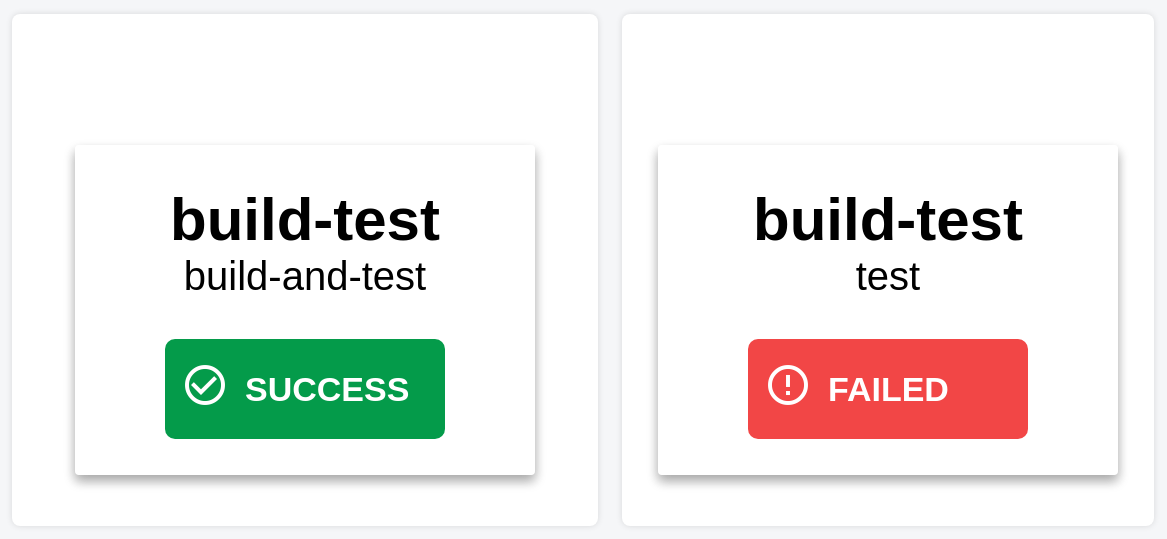
The result will be something like this:
important
You need a CircleCI project set up before starting this guide. If you haven't already, please make a new project now.
important
You should also make sure that the CircleCI integration app is installed on your Monday account. If not, please do that now. Click here to install
Create a new dashboard
To create a new dashboard, go to your main workspace, then click "Add" and then "New Blank Dashboard". 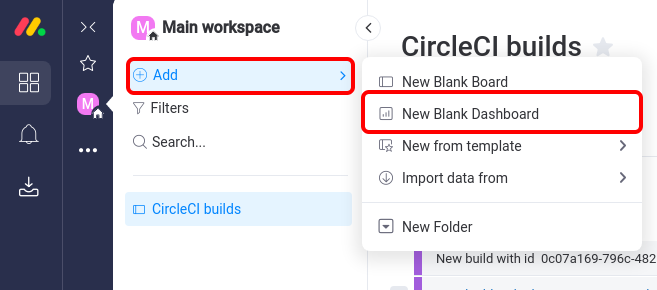
You can now enter a name and choose the visibility for the dashboard.
Add a CircleCI widget
Click "Add widget" and "Apps".

Search for CircleCI and click "Add widget".
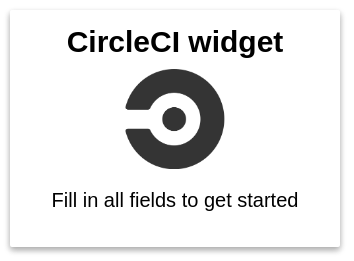
Configure the widget
You will now see an unconfigured widget.
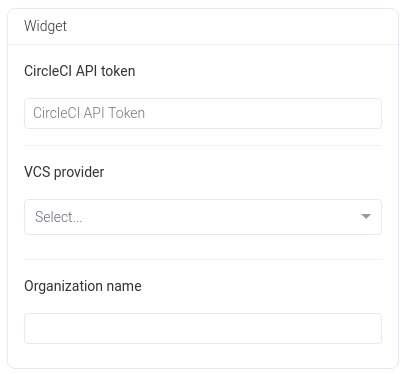
You can enter your details at the right side of the screen.
Get a CircleCI API token
Go here to create a new CircleCI API token. Copy the token and paste it at the "CircleCI API token" field.
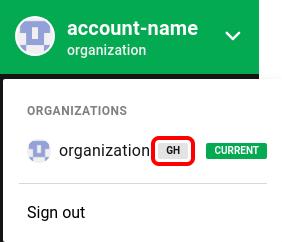
VCS provider
Enter your VCS provider at the second field. You can choose between GitHub and Bitbucket. Please choose the one that you use for the CircleCI project. GH means GitHub and BB means Bitbucket
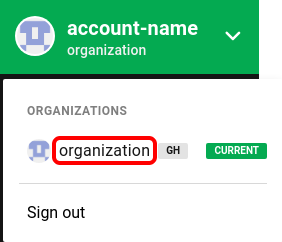
Organization name
Your organization name can also be found at the top left of your CircleCI web interface.
Select project
After you filled in all fields, the widget will prompt you to select a project.

Select workflow
Then you need to select your workflow.

Now click "Done" at the top right of the page. The widget should look something like this:

To add another widget, you can just repeat this process.